Welcome on my homepage
| News |
| Archery |
| Shoes |
| Belts |
| Bags |
| Usefull stuff |
| Uncommon stuff |
| HowtosBelt pocketBraiding 1Braiding 2 |
| Working on |
| Calendar |
| Animal Protection |
| Links |
| Impressum |
Belt pocket
A medieval belt pocket
Everytime I visit a medieval market I become angry about the high prices and less quality of leather belt pockets or pouches. So I decided to place a howto right here, to help people do it themselves. To enlarge pictures just click them.
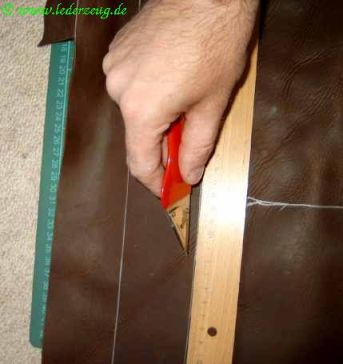
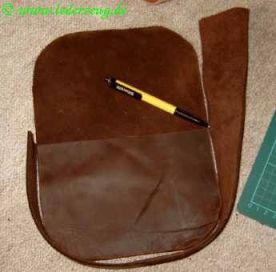
I use a 1.5 cm thick leather for building this belt pocket.
| First we need a cutting mask: for getting it I used a DIN A4 paper and rounded the corners. | 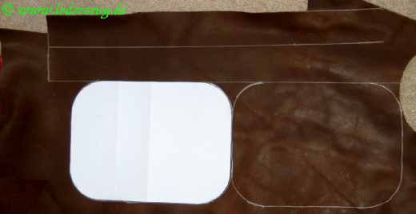 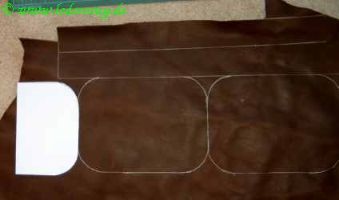 |
Next step I copy the form with a special silver pen (which can be erased from the leather afterwards) onto the leather. And then I copy half the form onto it, too. The whole form will be the back and covering piece while the half one will be the front.
 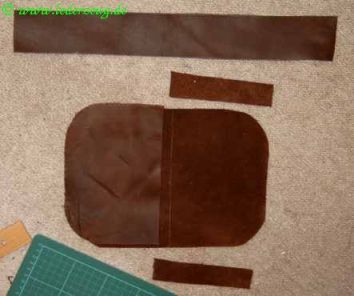  |
We need a strap of leather 4-5 cm wide and two smaller of 2 cm x 8 cm for the mounting on the belt. I put all together on the picture to make an impression how it is going to be. |
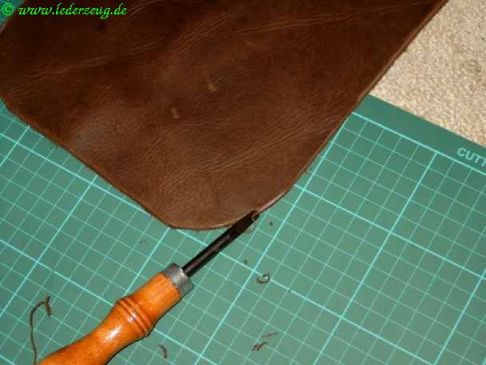
| We need a button for closing the pocket. I just take a small strap of leather which I roll. Then I make two perpendicular slits and put the long end through. That is a nice good looking button. | 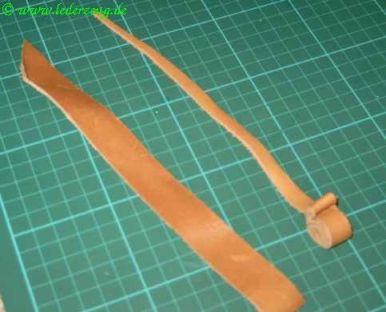 |
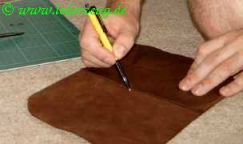
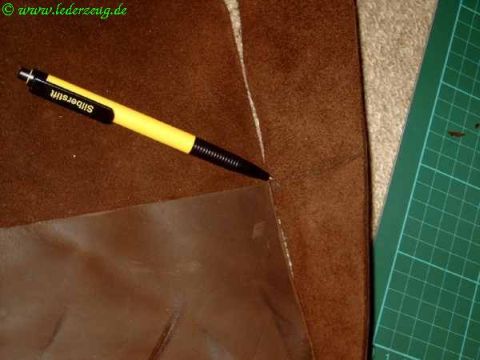
Now we need to make some marks :
|
|

 |
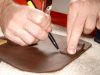
Next step is breaking edges. It looks nicer and will stay in form for longer time. |
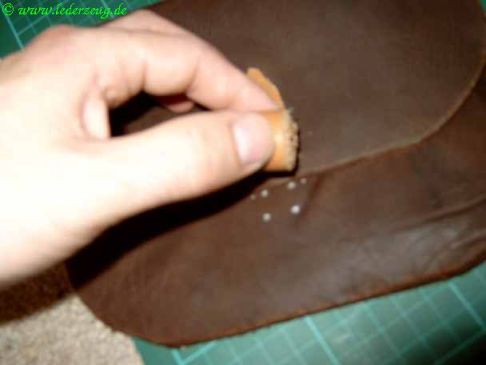
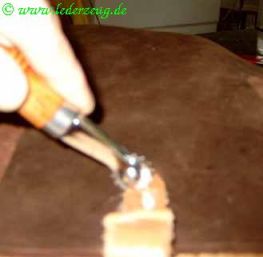
| Now lets make the holes for the leather lace which should hold the button. |  |
  |
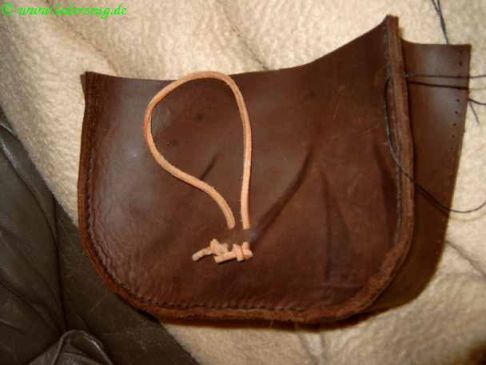
We pull the lace through the four holes and glue the button. For that use some contact glue. It is a mounting for stiching it later on. |
 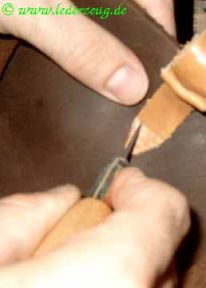 |
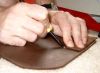
Now we mark the stiches and use a bodkin to make the holes. |
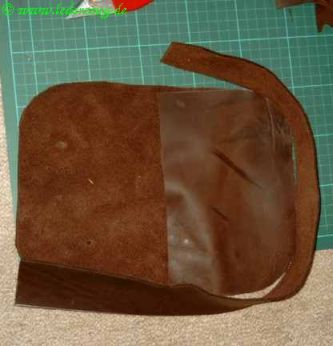
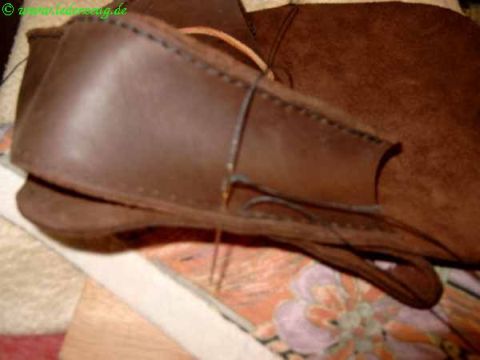
Making a cobblers stitch we mount it all together. I start at the front, then the mounting straps and the button. Finally mount the back with the side. Now our mark is nice to find the right start for stiching.
|
|
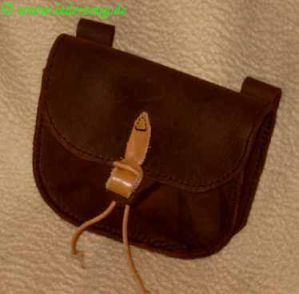 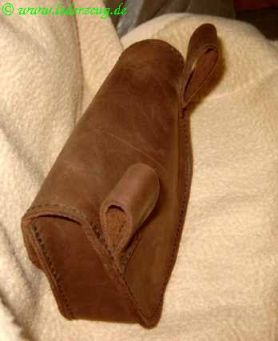 |
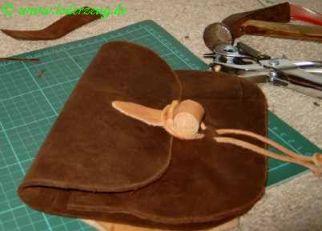
It is finished now Have fun building your own. |
(c) Marcus Schwamberger